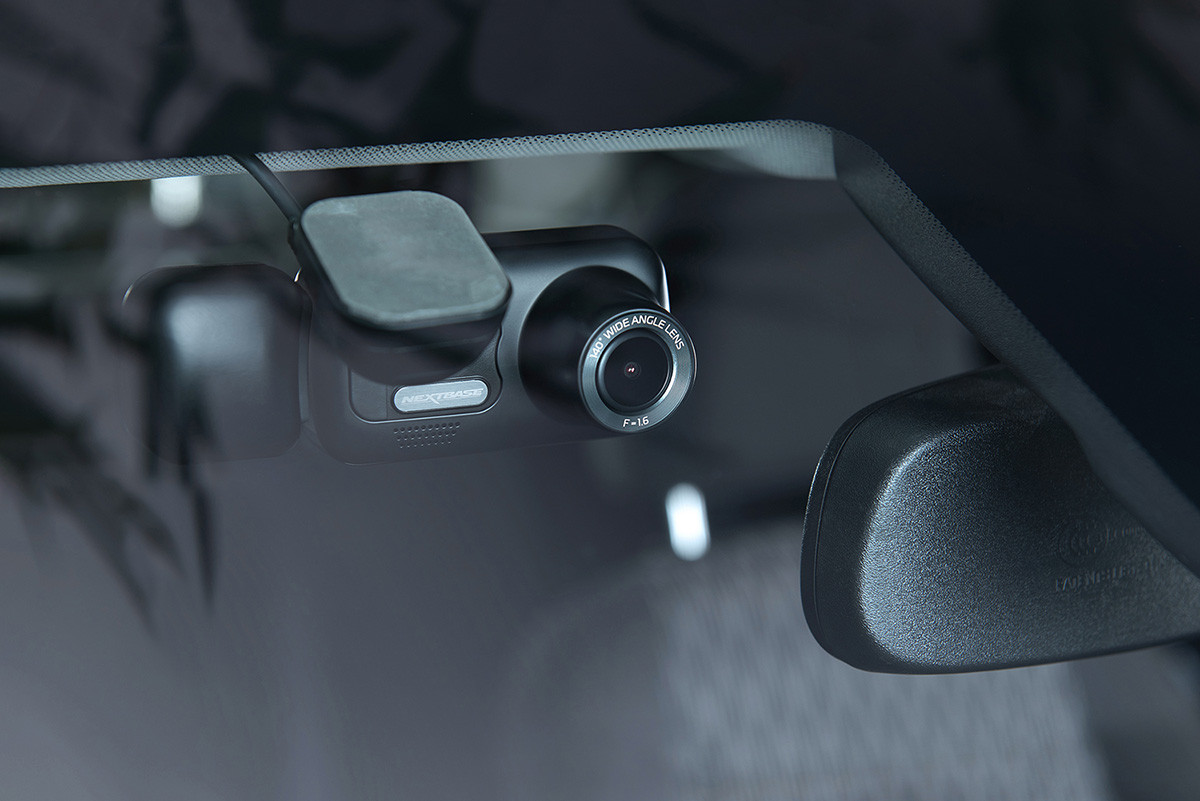
- Cigarette lighter installation
- Hardwire installation
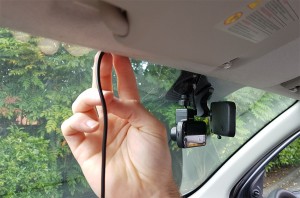
- Using the 4m power cable provided, guide the cable around your windscreen.
- Tuck the cable neatly across the top of the windscreen and down the side (as seen in the below images) to keep the cable out of eyesight and tidier. In virtually all vehicles there is a small gap between the roof lining and the windscreen, the Nextbase power cable has been designed to push neatly into this gap.
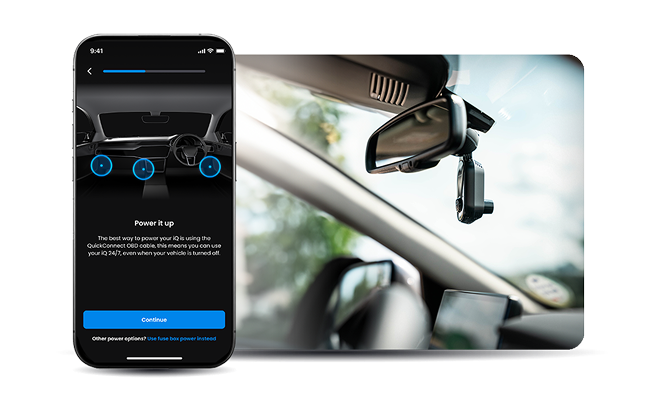
- Place the suction cup onto the windscreen, for most vehicles this will be just behind the rear view mirror on the passenger side. If you have a black “spotted” area on the windscreen please make sure that the mount is not touching this. This location captures the best view of the road and the dash cam remains safe and out of the line of sight.
- Plug in and go
- Easy to connect/disconnect if you drive multiple cars
- Power supply can easily be found
- You need a spare 12v cigarette lighter socket
- The cable is visible at the point where it goes into the cigarette lighter socket.
- Position the dash cam and suction mount in a place to capture best view of the road
- Tuck the cable neatly across the top of the windscreen and down the side (as seen in the below images) to keep the cable out of eyesight and tidier. In virtually all vehicles there is a small gap between the roof lining and the windscreen, the Nextbase power cable has been designed to push neatly into this gap.
- Find the fuse box that is usually inside or underneath the glove box.
- Remove an existing fuse (usually cigarette lighter socket fuse) and insert the specially provided socket straight into the fuse box. The old fuse simply “piggy backs” onto the new connection.
- Connect the earth cable to the chassis via any metal screw/bolt that is in direct contact.
- Neatly hidden – virtually no wires in sight
- Always connected, so you never need to worry about knocking the cigarette lighter socket
- Frees up cigarette lighter for other uses e.g. charging phone
- Slightly longer install time (approx. 20 minutes)
- May need professional help to hardwire
How to install a dash cam There are two options to installing a dash cam, the easiest is the 12v cigarette lighter dash cam installation, but the neatest is using a hardwire kit.
Option 1: Cigarette Lighter Power Supply
To install your dash cam with a 12V power supply (cigarette lighter):
Positives of using the cigarette lighter as a power source:
Negatives of using the cigarette lighter as a power
Watch our visual guide on setting up your dash cam via the 12V power supply (cigarette lighter).
Option 2: Hardwire The Dash Cam
If you’re looking for ways on how to hide dashcam wires for a neater installation, you can choose to hardwire your dash cam in by using the Nextbase Hardwire Kit, which is done via a quick and easy fuse box connection. This can be done by any competent DIY user with the hardwire kit costing $29.00
To hard wire a dash cam:
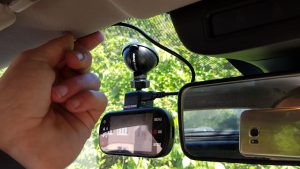


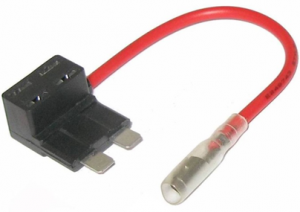
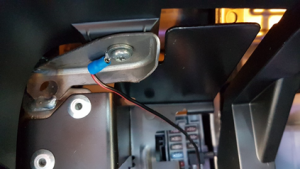
Hardwiring can take just 20 minutes and can be very useful – especially if you are keen to keep your existing cigarette lighter socket free and the cables out of sight. It can also be useful if you wish to have your dash cam permanently recording.
Positives of hardwiring a Dash Cam:
Negatives of hardwiring a Dash Cam:
Watch our visual guide on how to hardwire a dash cam.
Where should I mount my Dash Cam?
All Nextbase dash cams come with a guide and advice on where to locate your new in car camera. It shouldn’t obscure your view as a driver, or be a distraction. All of our dash cams have the option to turn off the screen when you are driving.
Tip – If your car has the black tinted dots on the windscreen it can make placing the suction mount tricky so avoid this area of the windscreen.
It’s important that you install the dash cam so it does NOT obstruct the drivers view of the road, preferably on the passenger side of the vehicle and behind the rear view mirror. Whilst the dash cam clearly needs to view through the windscreen in an area swept by the windscreen wipers, the dash cam should be installed so as not to intrude significantly within the wiped areaas shown in the image below.

Visit our product pages to find out more about our dash cams. To buy a dash cam, visit one of a Amazon who are currently stocking Nextbase products.
If you still have questions, get in touch with us as we’d happily talk you through more. Our contact details can be found here.

